
When Sony announced the PlayStation 4, they made it clear that they understood that the social aspect of gaming was critical and the ability to share the experience with others was something that the average user would enjoy. To this end Sony included a Share button on the DualShock 4 just for this purpose. This button is extremely powerful and allows you to do everything from save a video clip to broadcast your gameplay for others to see. On this edition of How To – we will go over the steps necessary to take and share a screenshot on PS4.
How To Take a Screenshot on PS4 and Share
1. Make sure that you have enough memory on your PS4 Hard Drive to save the screenshot. You can check this in the System Storage Management screen in the settings menu.

The average screenshot is between 250 and 600 KB
2. Go to the screen or game that you want to take a screenshot of and simply press the Share button. You will be taken to the Share screen where it will ask you, “How do you want to share your experience?”. If you want to share your screenshot on Facebook or Twitter, see Step 3 and Step 4. If you want to save your screenshot to a USB Drive, see Step 5 and Step 6.
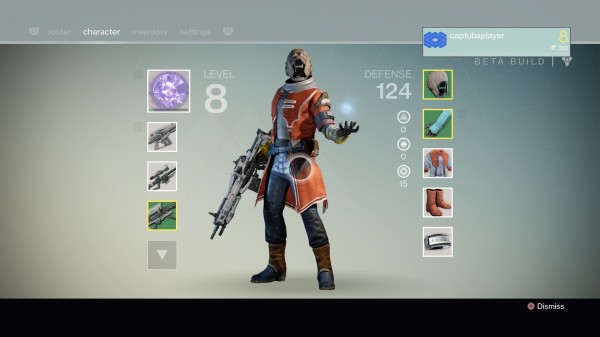
Showing off my Warlock from the Destiny Beta
3. If you have connected your Facebook or Twitter account to your PlayStation 4, you can upload screenshots to these services. From the Share screen you will select Upload Screenshot, you will then get a notification that the screenshot has been saved. You will then be presented with a screen that has all of your currently saved screenshots on them. You can select up to 30 to share onto a social network at one time. Check the box of each screenshot you want to share and then click Done.
4. Next you will be asked whether you want to share the screenshot on Facebook or Twitter. Select your preferred method. Both Facebook and Twitter allow you to add your own comment to the picture and preview it. Facebook also allows you to select the audience for the post with your choices being Public (everyone), Friends, or Only Me. Once you’ve made your comments and are happy with your choice click share at the bottom of the screen. You will receive a notification that the screenshots have been added to your uploads and once the upload is complete it will appear on the social network that you chose. Unless you are interested in how to save your screenshot to a USB Drive you are now finished and can successfully take and share screenshots!
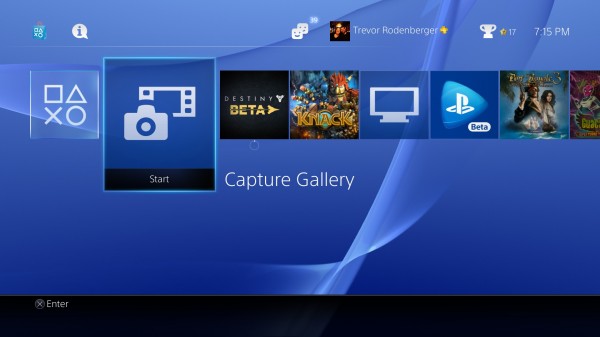
5. If you would like to save your screenshot to a USB Drive press triangle from the initial Share screen. You will receive a notification that your screenshot is saved. Next you will need to press the PlayStation button and go to the Capture Gallery. Click X to enter the gallery which includes all of your screenshots and video clips.
6. From within the Capture Gallery, scroll to the game or activity that you are interested in saving a screenshot from. Click the game and then click Screenshots. Pick the screenshot you want to save and press the Options button on the controller. A screen will pop up to the right and you need to select Copy to USB Storage Device. It will then ask for confirmation to copy the screenshot to your device. Click OK. You will see a loading bar and then once it has copied the screenshot it will return you to the previous screen. You can now use the USB Drive to take your screenshot anywhere you would like.
If you’ve followed these simple steps you should now be able to take and share a screenshot on PS4. Check back next week for another edition of How To-.
Discuss:
Do you often use the Share button the PlayStation 4? Do you prefer to upload your screenshots to social media or USB Drives?